Starting an online store might sound daunting, but with WordPress, breaking into the eCommerce world is easier than you think. This guide is tailored for beginners who are ready to take their first steps in creating an online store. Whether you’re looking to turn a passion into a full-time business or expand a side hustle, this simple, comprehensive guide will help you make it happen.
Imagine running your store on your terms, reaching customers worldwide, and watching your business grow—all from the comfort of your home. By the end of this post, you’ll know how to set up WordPress, pick the perfect theme, add products, and market like a pro. Buckle up, because your entrepreneurial adventure is about to begin!
1. Why Choose WordPress for Your Online Store?
WordPress stands out as one of the most accessible and popular platforms for online stores. Here’s why it’s the perfect choice for beginners:
- User-Friendly Interface: Even if you’re not tech-savvy, WordPress makes it straightforward to build and manage your site.
- WooCommerce Integration: This powerful plugin turns your WordPress site into a fully functional eCommerce store for free.
- Cost-Effective: WordPress and WooCommerce are open-source, allowing you to create your store with a small budget.
- Customization: From themes to plugins, the level of customization ensures your store reflects your brand.
- Scalability: Whether you plan to sell a few handmade products or manage a growing inventory, WordPress grows with your business needs.
If you’re seeking flexibility, affordability, and room to expand, WordPress is the right choice.
2. Step 1: Choosing a Domain Name and Hosting Provider
Your online store starts with two essential building blocks:
Selecting a Memorable Domain Name
Your domain name is your business’s online identity. Keep it:
- Relevant: Reflect your business name or niche (e.g., BestBakers.com for a bakery).
- Simple: Make it easy to spell and remember.
- Unique: Avoid names that are too similar to competitors.
Tools like Namecheap or Google Domains can help you check domain availability.
Picking a Hosting Provider
Think of hosting as your store’s digital real estate. For WordPress beginners, these hosting providers are reliable:
- TheBeehost: Affordable, beginner-friendly, and officially recommended by WordPress.
- AligatorHosting: Known for excellent customer support.
- HostGator: Offers budget-friendly plans with helpful features for eCommerce.
Once you’ve selected your domain and hosting plan, you’ll receive instructions to connect them to WordPress.
3. Step 2: Installing WordPress and WooCommerce
Installing WordPress
Most hosting providers offer one-click WordPress installation. Log in to your hosting account, find the WordPress installer, and follow the prompts to set up your site.
Setting Up WooCommerce
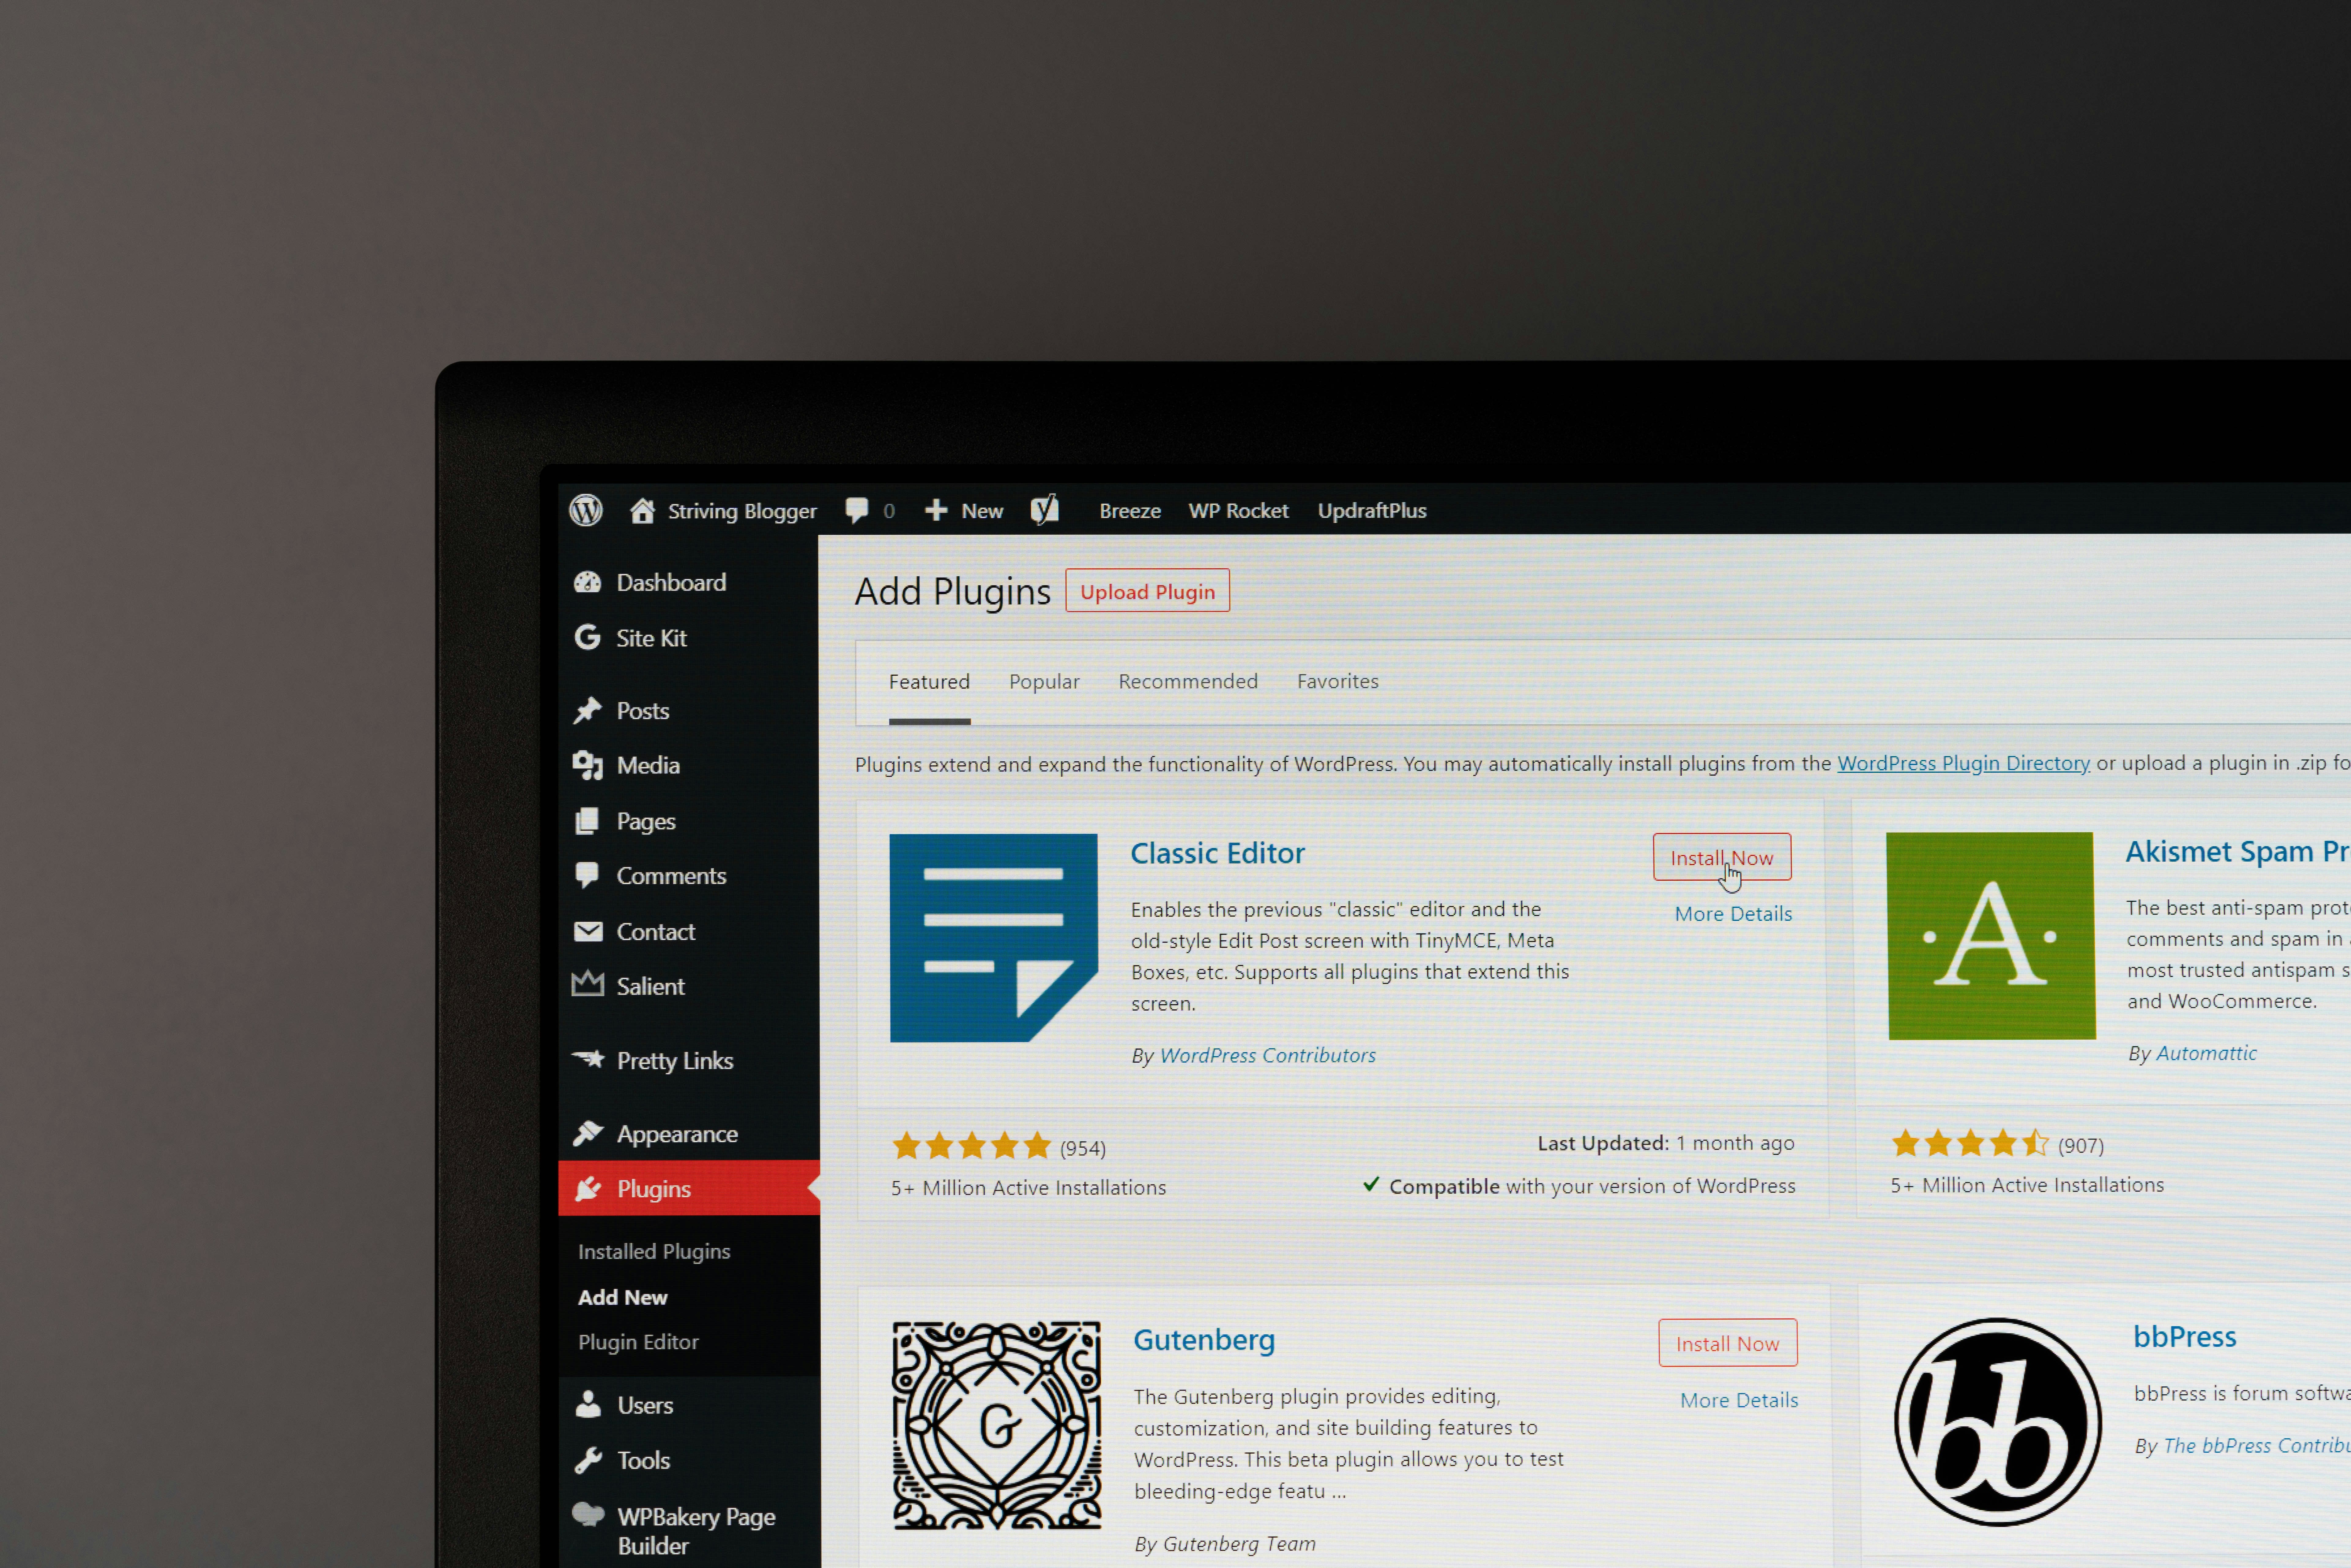
- Go to your WordPress dashboard, click Plugins, and search for WooCommerce.
- Install and activate the plugin.
- Complete the WooCommerce setup wizard:
- Choose your store location and currency.
- Configure payment methods like PayPal or Stripe.
- Set up shipping options.
Within minutes, WooCommerce transforms your WordPress site into an eCommerce powerhouse.
4. Step 3: Selecting a Theme and Customizing Your Store
First impressions matter, especially in eCommerce. A visually appealing, responsive theme enhances customer experience and boosts credibility.
Choosing a Theme
Some beginner-friendly eCommerce themes include:
- Astra: Lightweight and customizable with plenty of templates.
- Storefront: Built by WooCommerce, it’s a free and reliable choice.
- OceanWP: Ideal for flexibility and custom design.
Customizing Your Theme
From your WordPress dashboard, go to Appearance > Customize.
- Adjust colors, fonts, and layouts to reflect your brand.
- Add your logo to promote consistency.
- Preview changes before saving them to ensure a polished look.
5. Step 4: Adding Products and Setting Up Payment Gateways
An online store isn’t complete without its products. Here’s how to add and sell them effortlessly:
Adding Products
- On the WordPress dashboard, go to Products and click Add New.
- Upload clear, high-quality images of your product.
- Write engaging descriptions:
- Highlight benefits and unique features.
- Use bullet points for readability.
- Set pricing, manage stock inventory, and organize products into categories.
Setting Up Payment Gateways
WooCommerce supports various payment methods like:
Configure these options under WooCommerce settings, ensuring secure transactions for your customers.
6. Step 5: Marketing Your Online Store
Congratulations! Your store is live—but the work doesn’t stop here. Without marketing, even the best products can go unnoticed. Here’s how to get your store in front of customers:
SEO Optimization
Optimize each product page with keywords like “handmade candles” or “eco-friendly tote bags.” Use plugins like Yoast SEO for WordPress.
Email Marketing
Collect email subscribers and send newsletters about new products, sales, or limited-time discounts. Use tools like Mailchimp to simplify the process.
Social Media
Leverage platforms like Instagram and Facebook to share eye-catching visuals, customer reviews, and behind-the-scenes content.
Offer Discounts
Promotions like 10% off your first order encourage purchases and customer loyalty.
Track Performance
Use Google Analytics to monitor store traffic and see which marketing efforts drive results.
7. Troubleshooting and FAQs for New Store Owners
Common Challenges and Solutions
- Slow Loading Times: Optimize images and use a caching plugin like WP Super Cache.
- Payment Gateway Issues: Double-check your settings or contact WooCommerce support.
- Unresponsive Design: Use mobile-friendly themes and test your site on different devices.
FAQs
- How do I update my theme?
Go to Appearance > Themes, click Update under your active theme.
- What if I want to add features to my store?
Install plugins like Jetpack or WooCommerce Extensions for added functionality.
For further guidance, check out the WordPress forums or WooCommerce support pages.
Take the First Step Towards Your Dream Online Store
Starting an online store with WordPress doesn’t have to be overwhelming. By following these steps—from choosing a domain to marketing your products—you’re well on your way to turning your vision into reality.
Remember, WordPress and WooCommerce are not just beginner-friendly but scalable as your business grows. Take action today, and see how your dream of running an online store transforms into a thriving business.
Get started with WordPress today and bring your eCommerce dreams to life!